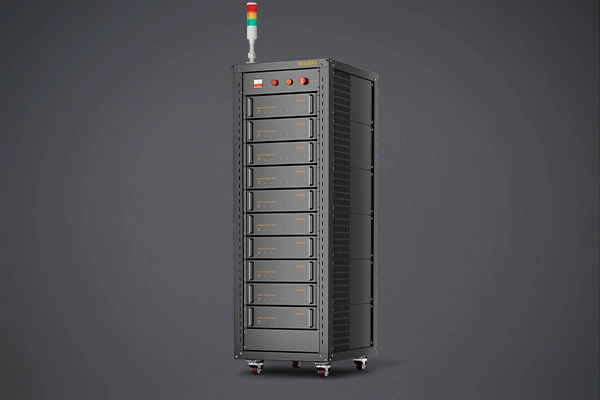
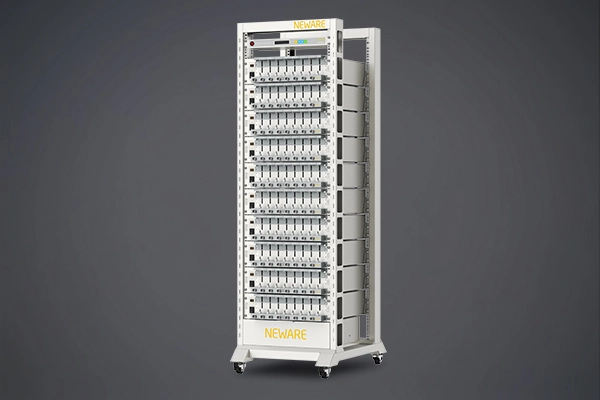
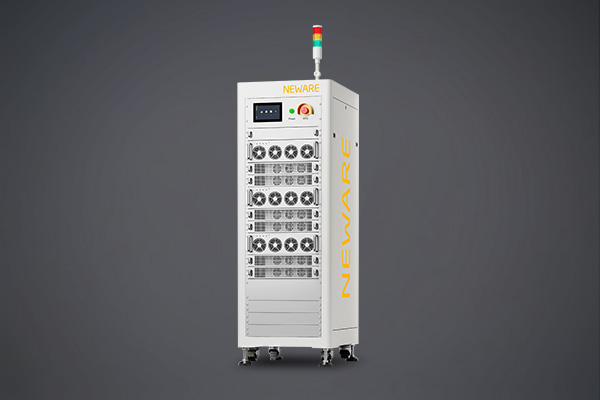
● Part 1: Hardware Connection
1. Start by going to the back of the machine and connect the power cables for each tester unit one by one.

2. Use an Ethernet cable to connect the Tester to the Cotrol Unit, daisy-chaining the Tester using Ethernet cables in sequence.
")
")
3. Insert the Aviation Plug Line into the corresponding channel connection ports for each unit.
")
")
4. Connect the equipment to the computer.
Either connect the Control Unit directly to the computer using an Ethernet cable or use a switch or router to connect the computer to the Control Unit.
")
When using a router, ensure that the Ethernet cables are plugged into the LAN ports.
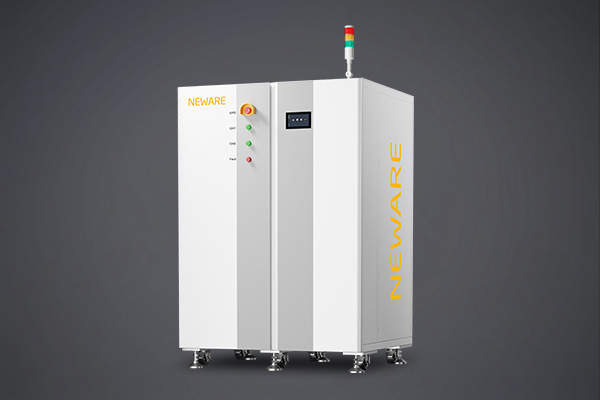
● Part 2: Configuration and Introduction of the Control Unit
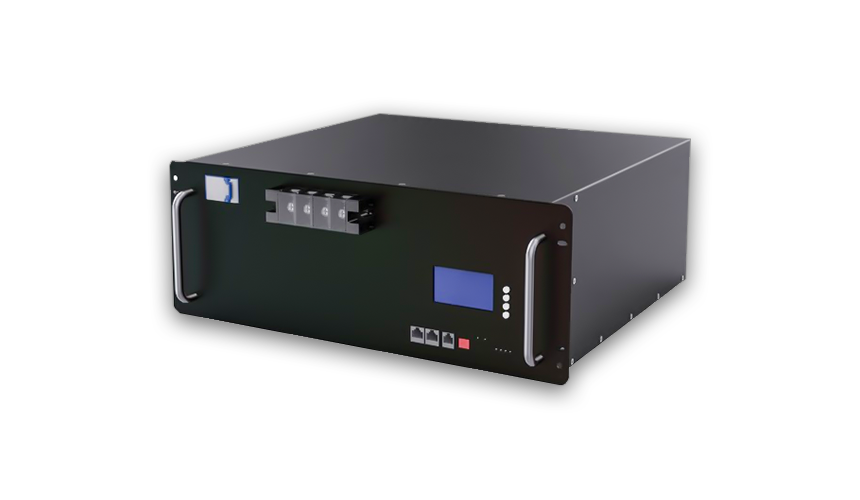
Connect the power supply and turn on the device. The screens of the Control Unit and Tester will light up.

On the device's body, you can find the following information on the label: Control Unit Number, Control Unit IP, and Server IP.

The four buttons on the body from left to right are, in order, "Back," "Increase," "Decrease," and "Confirm."
The main menu on the Control Unit's display has two options: Channel Status (Item 1) and Configuration (Item 2).

1.Select the second option, "Configuration," and press Confirm to enter the submenu.
2.The first item in the submenu, Device ID: 68, represents the Control Unit identifier.
The second item: Get IP Addr: MANUAL, represents the method for obtaining the IP address, which includes two modes: manual and automatic.

Item 3: MAC address refers to the physical address.
Item 4: "LP" is the Local IP, and it should be set according to the factory label.

Item 5: SM (Subnet Mask) is a fixed value.
Item 6: GW (Gateway) is set to 192.168.1.1; you don't need to change this.

Item 7: SP is the Server IP address, set to 192.168.1.250.

The Server IP address and the IP address used for the local connection on your computer (e.g., Ethernet on WIN10 and WIN11) must match.
Otherwise, you won't be able to connect to the computer.

Note: It is not recommended to configure a single network adapter with two IP addresses.
If you need to connect to a device while having internet access on your computer simultaneously, it's advisable to configure a wireless network adapter, use a USB-to-Ethernet adapter, or use a computer with dual network cards.
● Part 3: Computer Configuration Requirements
Before installing BTS, please ensure that your computer meets the following requirements:
1. CPU: Intel Core i5 or higher.
2. RAM: 8GB or more.
3. Hard Drive Space: 1TB or more.
4. Operating System: It is recommended to install Windows 7 64-bit, Windows 10, or Windows 11 64-bit.
5. If you are using a new computer and need to partition your memory space, please make sure that there is at least 400GB of available space on a disk other than the system disk for software installations.
● Part 4: General Computer Settings (Using Windows 11 as an Example)
Step 1: Disable Firewall and Network Protection.
Enter the Windows Security. Click on "Virus & threat protection." Find the "Manage settings" under the "Virus & threat protection settings" Turn off "Real-time protection", "Cloud-delivered protection", and "Automatic sample submission."

Then click on "Firewall & network protection" in the left column. Turn off "Domain network", "Private network", and "Public network."

Step 2: Set Your Computer to Never Sleep.
Open computer settings, then find "Power & sleep" in the system settings. Click on "Screen & sleep" and set both options to "Never."

Please note that these instructions are based on Windows 11 and may vary slightly if you are using a different version of Windows.
Setting PC IP (take WIN 11 as an example)
1.Access "Control Panel" . Click "Network and Internet" . Access the "Network and Sharing Centre." Click "Change adapter settings" in the left column.
2.Right-click "Ethernet" or "WLAN", click "Properties", and select the "Internet Protocol Version 4 (TCP/IPv4)" item.

3.Click "Properties" and select "Use the following IP address" Enter the IP address 192.168.1.250 manually.The IP address must be the same as the IP address of the Control Unit server. Click the "Subnet mask" input box to automatically detect the mask address. Click "OK", then click "Close."
● Part 5: Software Download
Next, we will demonstrate how to download the BTS software. Open your web browser, enter the website URL neware-usa.com. Once on the company's official website, locate the "Software" section, click on "BTS8.1," and then click on the "Download NEWARE BTS8.0.1." This version is the latest one.

● Part 6: Software Installation
1. To ensure the successful installation of your software, please exit antivirus software like 360 Security or uninstall such software. Alternatively, you can add the BTS software installation directory folder to your software's trusted zone.
2. After downloading the file, unzip it and click on the unzipped folder. Right-click and choose "Run as administrator."


A page will pop up with four options. please check all of them and click "Next."

Click "I accept," and then click "Next."

You can choose the software's installation location here.
Install it in the default location. Click "Install," and then click "Finish."

3. For Python and server installation, follow the prompts in the pop-up box to complete the operation.


4. After the software installation is complete, open the BTS software. Click on "User Log in," and use the following login credentials: Username: admin, Password: neware.


5. Then right-click on "Reset mapping(M)." Right-click on "Main CH default mapping - 1x8," and right-click on "Aux CH default mapping - Average mapping."


6. After making these selections, right-click to save the mapping.

Note: If the software installation is not successful, please contact customer support for resolution.